
How do I install the Cisco AnyConnect Client on Windows 10?
Note: This will only install the VPN client software required to access some Gaston College resources. These instructions are for installation from off campus. If you are on campus, please bring you computer to CET 011 and we'll be able to help you.
Cisco AnyConnect Secure Mobility Client install using Microsoft Edge web browser:
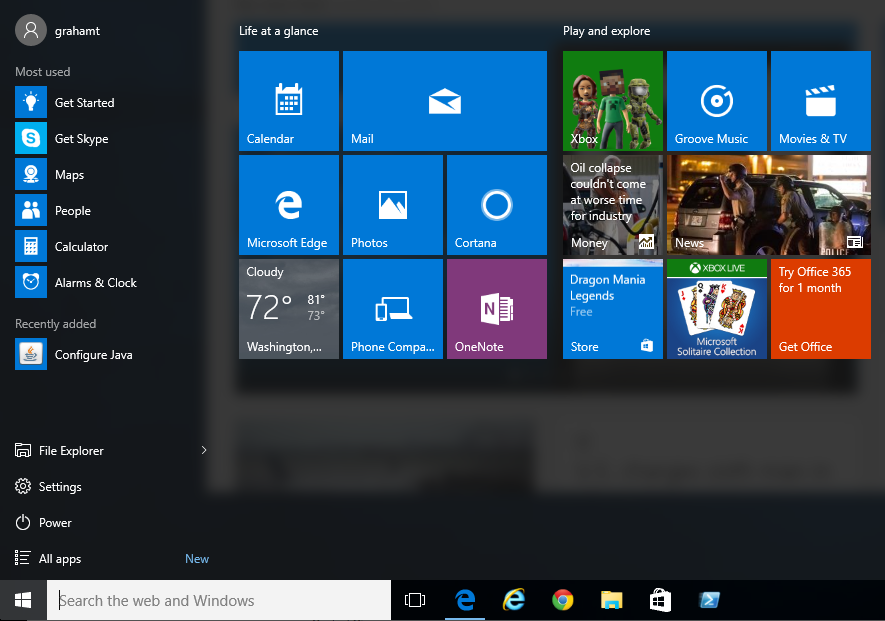
1) Launch the Edge web browser from the Start menu or the taskbar
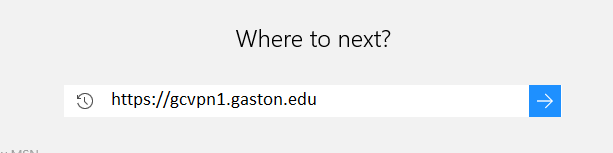
2) In the destination field, enter https://gcvpn1.gaston.edu
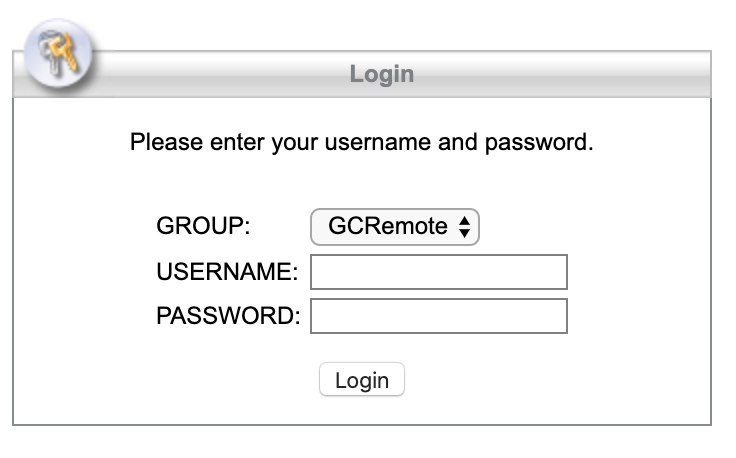
3) In the "Group:" drop-down menu, click on the arrows to the right and select the "GCRemote", then enter your Username and Password:
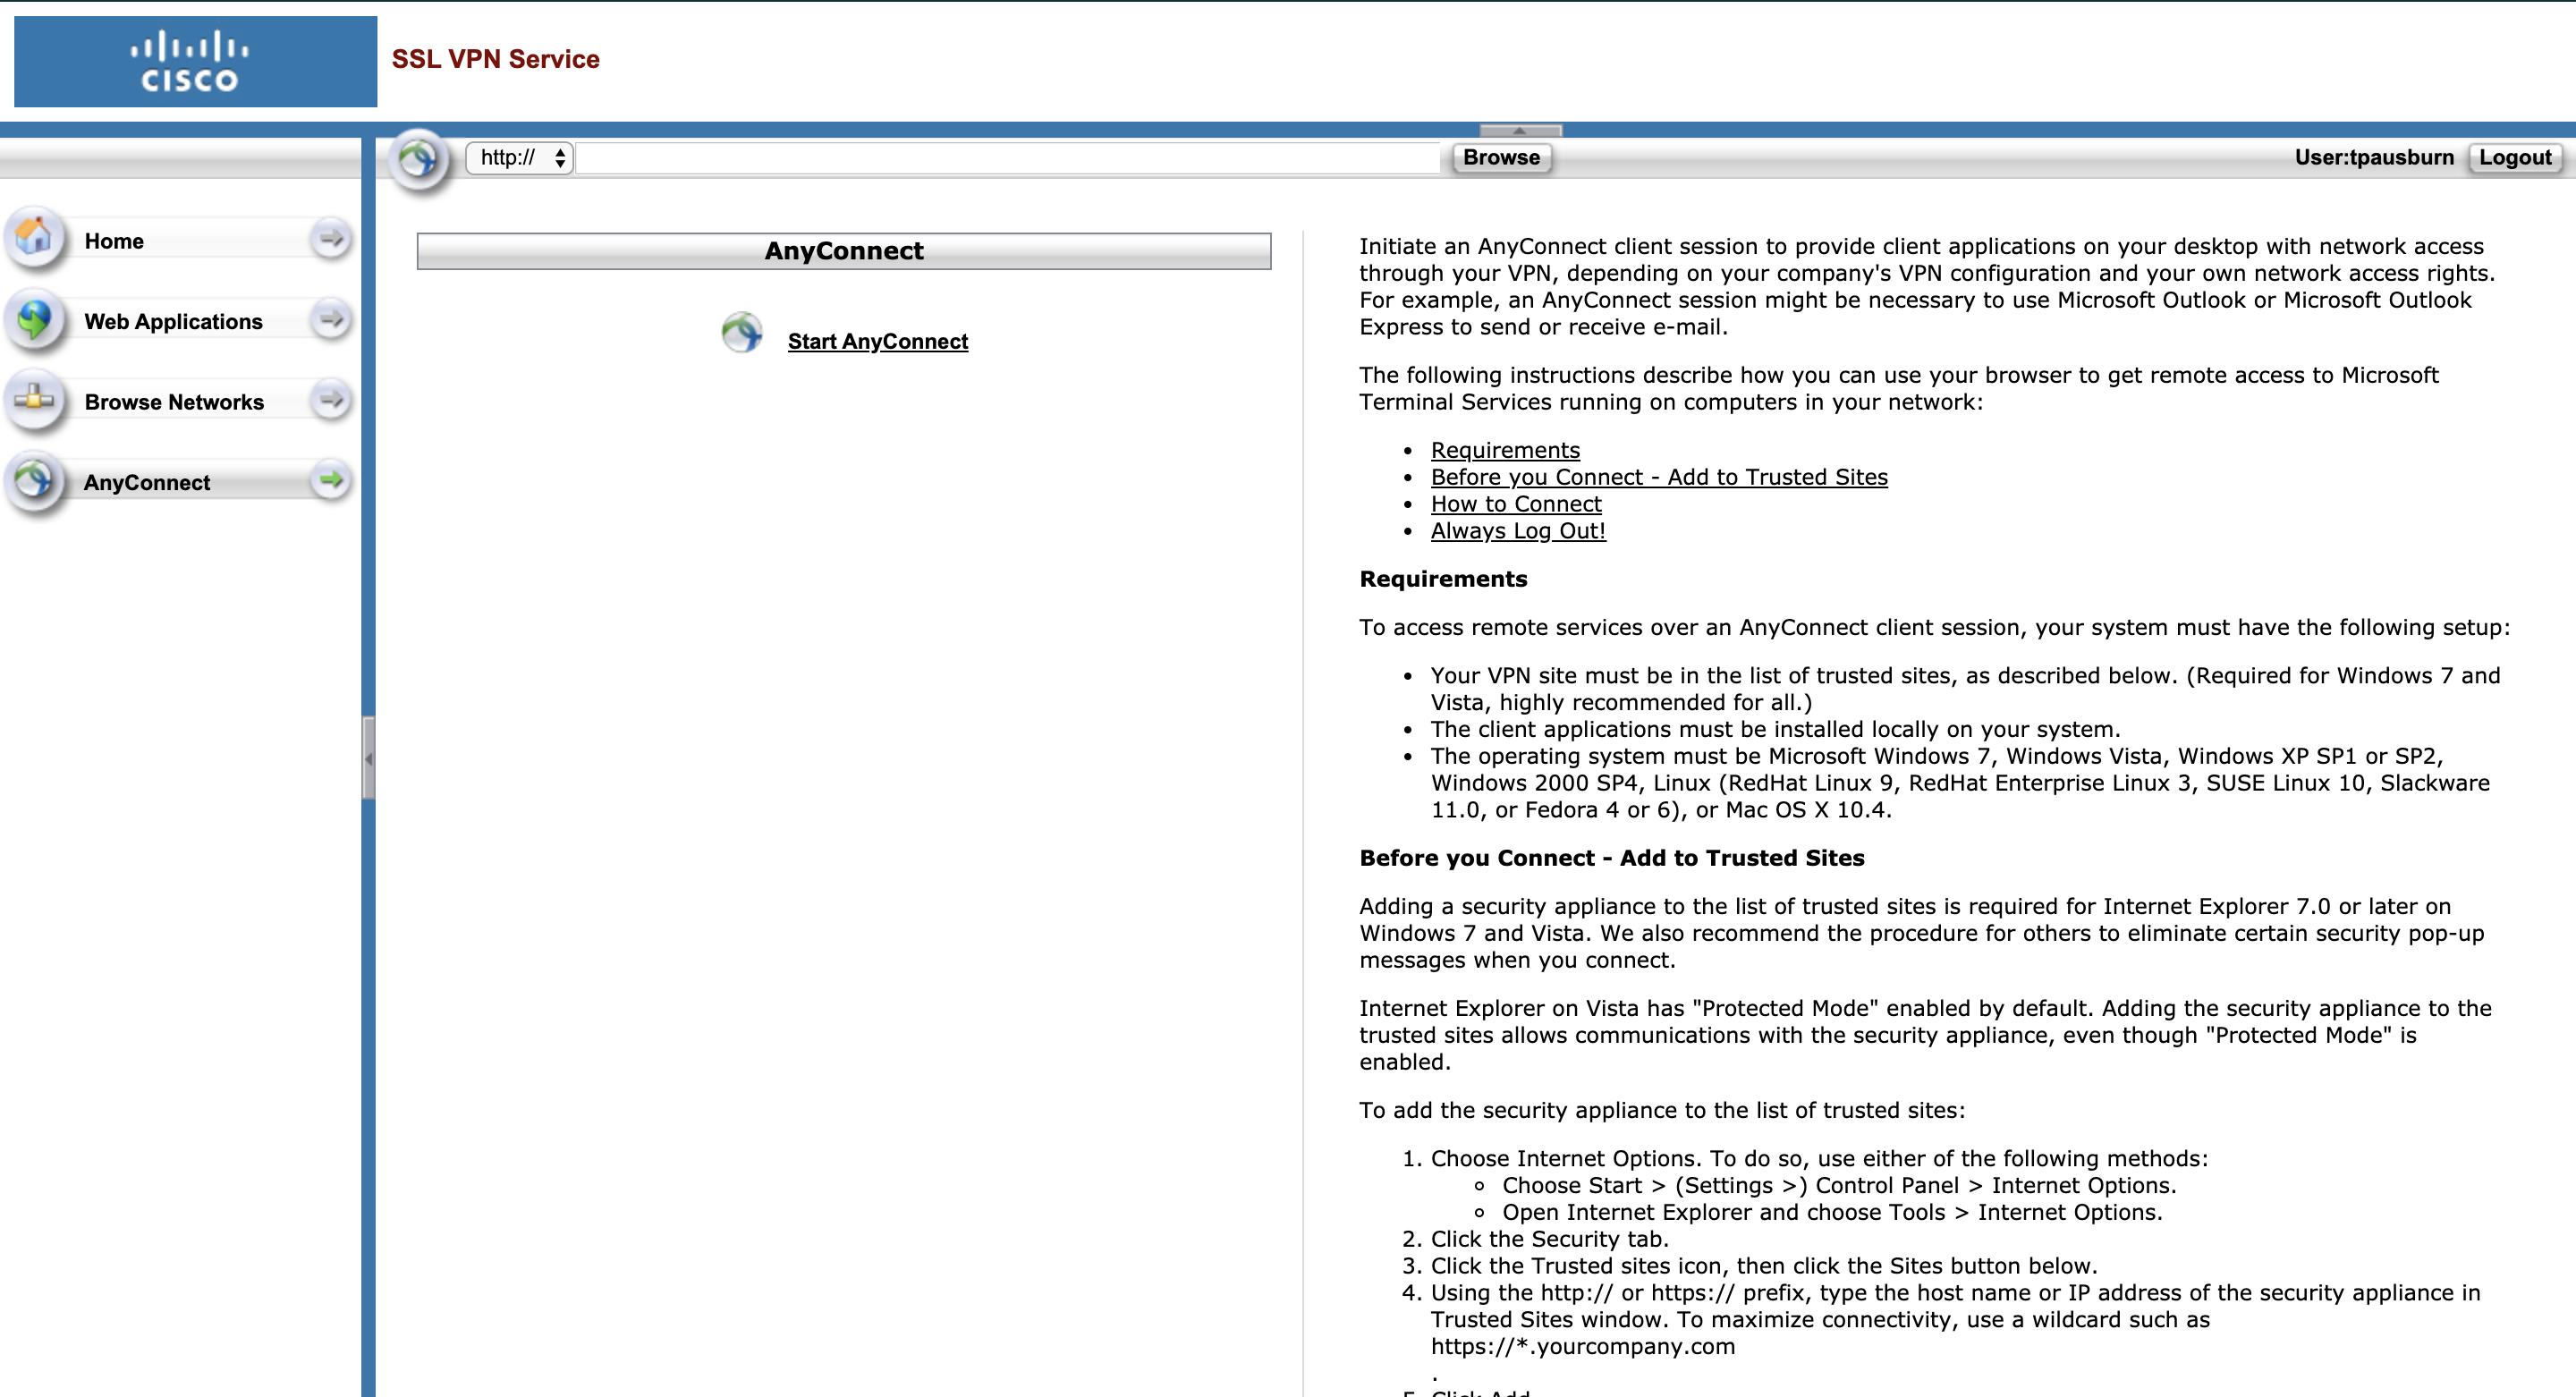
4) You will be presented with the following screen. Click on the Start AnyConnect link to go to download page for the client software.
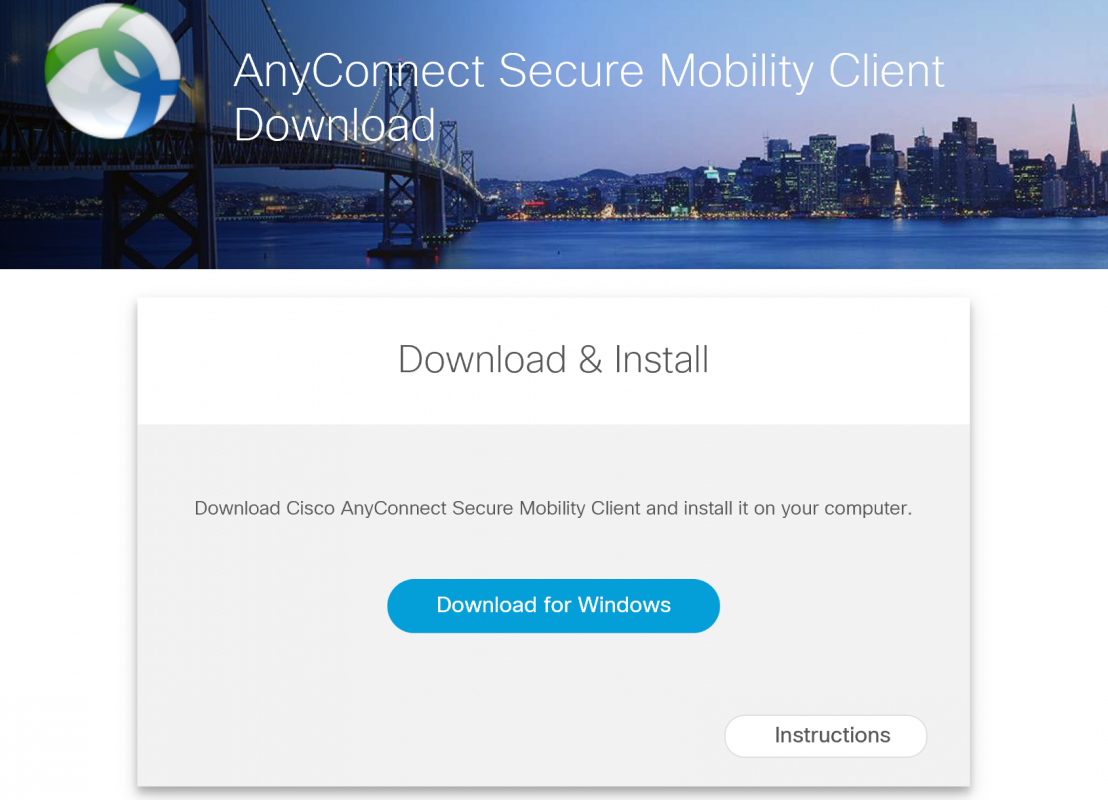
5) You will be presented with the following screen. Click on the Download for Windows link to download the software from the VPN appliance.
6) Run the installer from the Downloads bar:

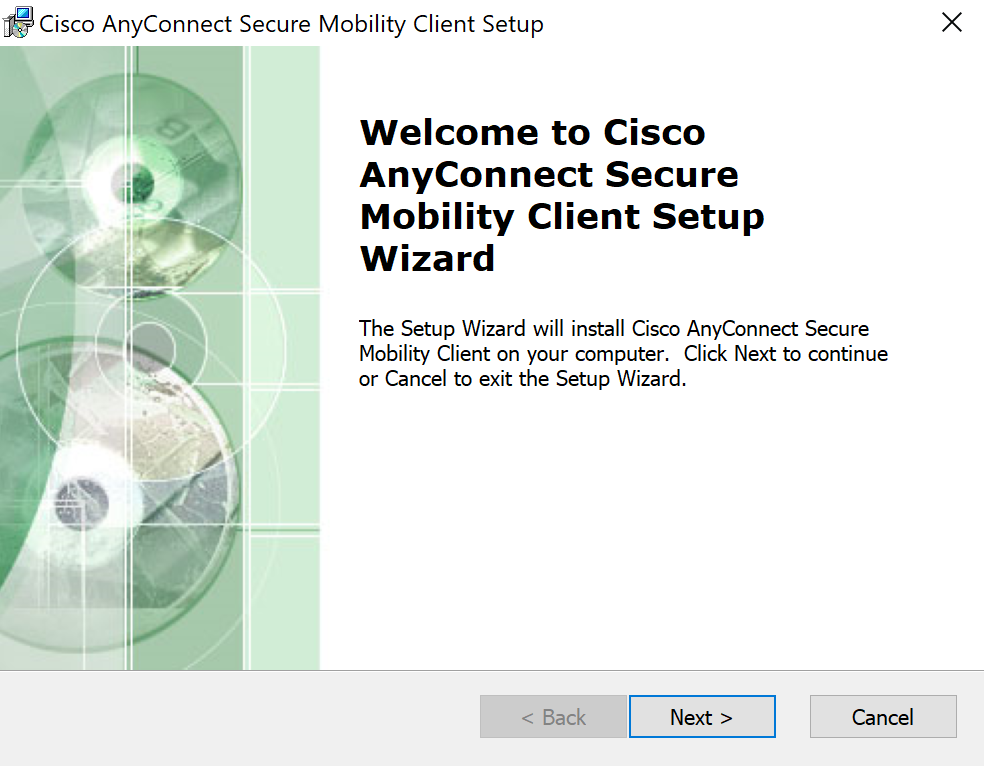
7) Follow through with the installer's instructions:
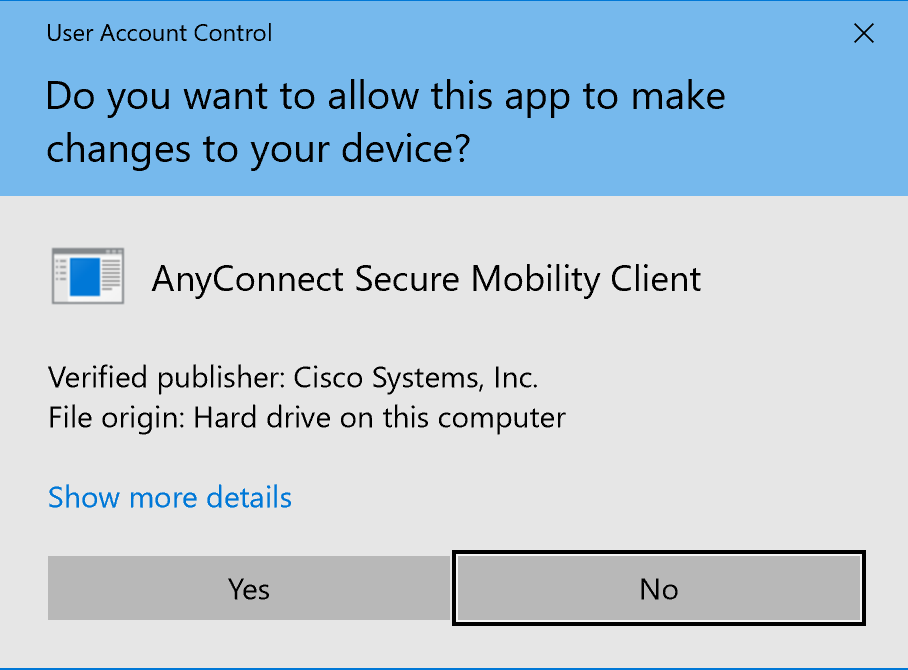
8) You may see a User Access Control warning, click Yes to continue install.
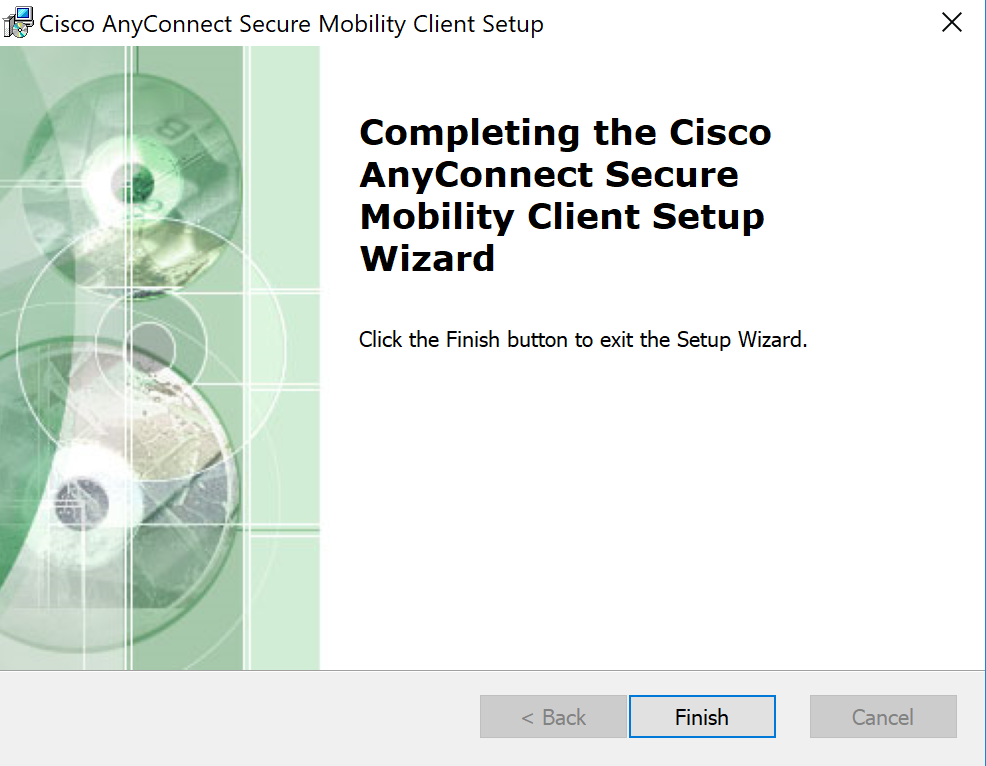
9) Click 'Finish' to complete install.
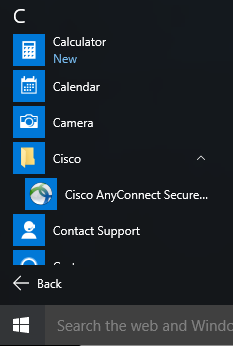
10) Launch the Cisco AnyConnect Secure Mobility Client from the Start Menu:
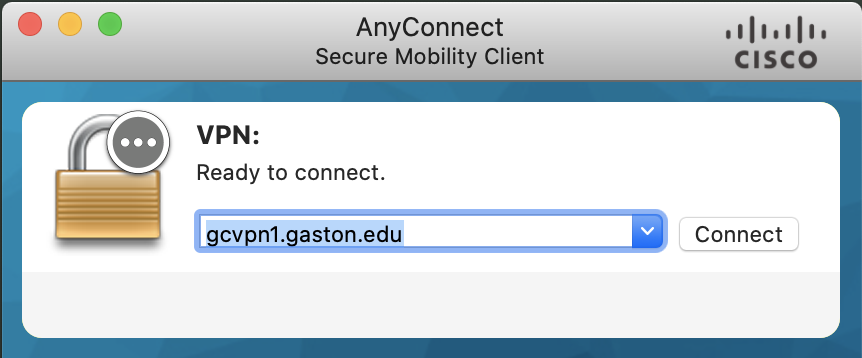
11) In the Ready to Connect window, enter gcvpn1.gaston.edu as the server name and click Connect:
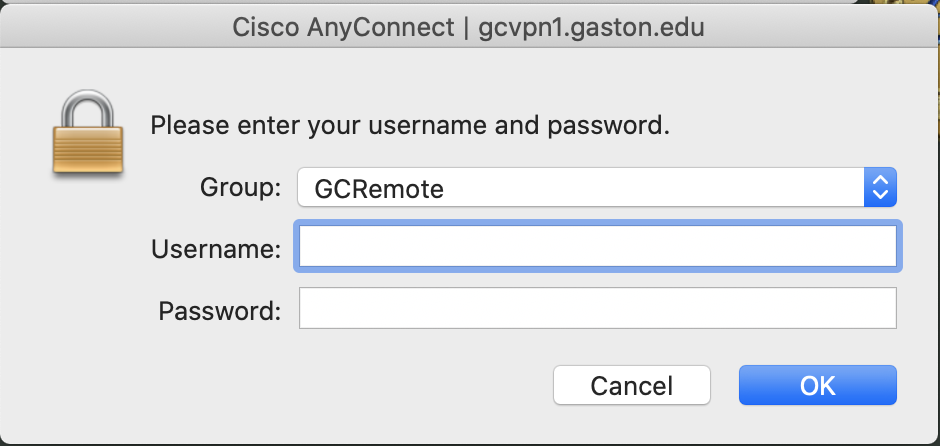
12) Next, the credential pop-up will appear. In the "Group:" drop-down menu, click on the arrows to the right and select the "GCRemote".
13) The AnyConnect icon will be minimized in the system tray in the lower right hand corner:
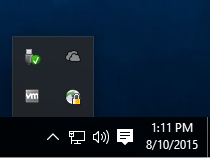
14) Click on the icon to maximize the AnyConnect application. Click on the Gear icon in the lower left to view details.

15) To disconnect from the VPN, click Disconnect.